Construction Conditions
1, the basic wall has been qualified. The door and window frames and various body-input lines, downspout brackets, embedded parts, etc. are installed as designed.
2. The flatness of the shear wall is checked with a 2m ruler. When the maximum deviation is greater than 4, apply 20:1 cement mortar for leveling; when the maximum deviation is less than 4, the unevenness is repaired with 1:3 cement mortar.
3. Masonry walls are leveled with 20 thick 1:3 cement mortar.
4. The base wall and screed should be dry.
5. The ambient temperature of the construction site and the surface temperature of the wall shall not be lower than 5°C within 24 hours after construction, and the wind power shall not be greater than 5 levels.
6. During the summer construction, effective measures should be taken to prevent rain from flushing the walls.
Construction tools
Electric wire cutters, slotters, wallpaper knives, screwdrivers, hacksaw blades, scissors, electric mixers, impact drills, hammers, brushes, coarse sandpaper, and common tools.
Construction process
With special adhesives → Basic wall treatment → Brush interface agent → Paste extruded plate → Pre-adhesive plate edge mesh → Drilling and mounting fixtures → Extruded plate leveling → Brush interface agent → Polymerization Mortar → Smear bottom poly → Finishing coating → Slurry → Buried mesh → Smear layer polymer mortar → Inlay sealant → Special tile adhesive → Spray (coating) finish coating or paste face brick → Clear up the finish layer, acceptance
Construction operation points
1. The primary treatment thoroughly removes the materials that affect the bond strength, such as floating ash, oil stains, release agent, hollow drum and weathering material on the surface of the primary wall.
2. In order to increase the adhesion between the extrusion board and several layers of the base layer, brush the interface agent on both sides of the extrusion board.
3, configure the special adhesive:
1) Pour 5 parts (by weight) of dry-mixed mortar into a clean plastic bucket, add 1 part of clean water, stir while adding water, and stir for 5 minutes using a hand-held electric stirrer until it mixes well and the consistency is moderate. .
2) Put the configured adhesives for 5 minutes and use them with stirring. The configured adhesive should be used within 1 hour.
3) The configuration of the special adhesive is only allowed to add water, and other additives (agents) must not be added.
4, install the extruded board
1) The standard size of the standard board is 1200*600, and the diagonal error is less than 2. The extruded board is cut with a wire cutter or a utility knife with a tolerance of ±1.5.
2) Mesh Cloth Turning: The pre-adhesive grid cloth on the extruded board on the door opening and the door opening, both sides of the deformation joint, etc., with a total width of about 200, and the width of the turn-up part is 80. The specific practice is as follows: 180 plus plate thickness. First, apply a special adhesive with a width of 80 to 2 in the turn-up area, then press in an 80-long mesh cloth, and throw away the rest.
3) The configured special adhesive is applied on the back of the extruded board. The thickness of the adhesive is about 3, so as to ensure firm bonding, the sticking method and the dot method can be used for the bonding method.
4) Sticking method: Use a tooth guillotine knife to wipe the special adhesive horizontally on the extruded board with a width of 10, a thickness of 10, and a middle distance of 50.
5) Point method: Use a trowel to apply a special adhesive with a width of 50 and a thickness of 10 in the periphery and in the middle of each extruded sheet. Then apply a ash cake with a diameter of 100 and a thickness of 10 in the separation area of ​​the extruded sheet. .
6) Quickly paste the extruded board with a special adhesive on the wall to prevent surface crusting and lose adhesion. Do not apply special adhesive on the side of the extruded board.
7) After the extruded board is glued to the wall, use a 2m flattening operation on the ruler to ensure its smoothness and firm bonding. The board should be tightly packed with the board. No seams are allowed. The gap formed by cutting is not straight, and the board is squeezed. Plastic strips are stuffed in and flattened. Each time a piece of board is adhered, the extruded special adhesive should be removed.
8) Extrusion board paste should be horizontally laid horizontally from bottom to top. Each row of boards should be staggered by 1/2 board length, and the local minimum staggered seam should not be less than 100.
5, install the fixture:
1) The fasteners are installed 8 hours after the extrusion board is affixed and are completed within 24 hours. Drill with impact drill according to the design requirements, with an aperture of 10, drill into the base wall with a depth of about 60, and the depth of the fasteners anchoring into the base wall is about 50 to ensure firm and reliable.
2) The number of fasteners is set according to the design specification.
3) The self-tapping screws should be tightly tightened and the engineering plastic expansion screw cap should be neat or slightly screwed into the surface of the extruded board to ensure that the tail of the expansion nails is tightened back to fully anchor the base wall.
6, polished:
1) The unevenness of the joints of the extruded board shall be polished with coarse sandpaper. The movement shall be a gentle circular movement. Do not grind along the direction parallel to the joint of the extruded board.
2) Clean up the extruded board scraps and floating dust with a brush immediately after grinding.
7, for decorative line angle:
1) Use the ink line to eject the position where the line angle is required according to the design requirements, and perform the horizontal and vertical correction.
2) Concave angle The slotted plate is used to cut the extruded plate into notches. The thinnest part of the extruded plate notches is not less than 15.
3) After the convex line angle should be cut according to the design dimensions, apply an on-line angle together with the interface agent corresponding to the two sides of the extruded plate, and then apply a special adhesive to make it stick firmly.
8, wipe the underlying polymer mortar:
1) The configuration of the polymer mortar is the same as the special adhesive.
2) Spread the configured polymer mortar uniformly on the extruded board to a thickness of 2.
9, press into the grid cloth:
1) The grid cloth should be cut according to the length and width of the work surface, and the lap width should be left. The grid cloth should be cut along the latitude and longitude.
2) In the area around the openings such as doors and windows, roll over the mesh, and four corners should be reinforced with a layer of mesh cloth. The entire mesh should be wrapped around the opening and attached to the mesh.
3) Polymer mortar is applied to the front and side of the extruded sheet at the opening of the opening and mesh fabrics (only the edge of the extruded sheet is allowed to apply polymer mortar). The pre-thrown grid cloth was turned over along the plate thickness and pressed into the polymer mortar.
4) Stretch the entire grid cloth horizontally and stretch it flat. Pay attention to placing the inner side of the grid cloth inwards. Use a trowel to have the upper and lower sides of the grid cloth to flatten the grid cloth so that it clings closely. The horizontal lap width of the grid cloth is not less than 100, and the vertical lap length is not less than 80. The lap joint is filled with the polymer mortar to fill the voids of the base mortar, and the grid cloth may not be creased, hollowed, or curled.
5) At the corners of the concave and convex lines, a narrow-width mesh should be embedded in the underlying polymer mortar, and the whole mesh should be laid on a narrow-width mesh cloth with a lap width of 80.
6) The two sides of the wall at the yin and yang corners of the wall are overlapped with each other by two-way grids, and the width of each side is not less than 200.
10. Wiping polymer mortar:
1) After wiping the bottom layer of polymer mortar and pressing it into the grid cloth, when the mortar is solidified until the surface is not sticky, begin to wipe the surface layer of polymer mortar. The thickness of the coating surface shall cover the grid cloth and make the total thickness of the polymer mortar. 2.5-3.0.
2) In order to improve the impact resistance of the external wall, a layer of grid cloth should be added and the two processes should be performed on both sides. The total thickness of the polymer mortar is about 3.5-4.0.
11, deformation joints, boundary grid construction:
1) The metal cover plate of the deformation joint of the wall shall be positioned according to the design and firmly fixed with the base wall before the extrusion plate is affixed.
2) Padding polyethylene solid round rods at the joints between the metal cover plate and the extruded plate and at the seams. The diameter should be 1.3 times the slit width. The seal paste is embedded twice and the depth is the width of the slit. 50-70%.
3) The construction of sealant should be careful not to contaminate both sides of the extrusion board surface.
12. Construction of finish layer:
1) When water-based high-elastic paint is applied to the finish layer, the unevenness of the polymer mortar should be repaired before the construction and polished with fine sandpaper before the paint is applied.
2) When the facing layer is made of facing bricks, special tile adhesives should be used for the adhesive and jointing mortar.
13, repair hole:
1) When the scaffold is removed, repair the hole in time. Wall holes were filled with the same base wall material and leveled with 1:3 cement mortar.
2) Cut the extruded plate according to the hole size and grind the edge part so that it can be tightly sealed in the hole. And brush the interface agent on both sides of the extruded board.
3) After the hole cement mortar is solidified, apply 10 thick special adhesive on the back of the extruded board, and squeeze the extruded board into the hole, taking care not to apply special adhesive on the periphery of the periphery.
4) The cutting area can cover the size of the entire repair area mesh cloth, and lap joints with the surrounding mesh 80.
5) Apply the underlying polymer mortar and bury it in the repairing mesh cloth. When the surface is not touched, apply the surface layer polymer mortar again. The thickness should be consistent with the surrounding area.
6) Use a wet brush to level the old and new surface irregularities and level the edges of the holes.
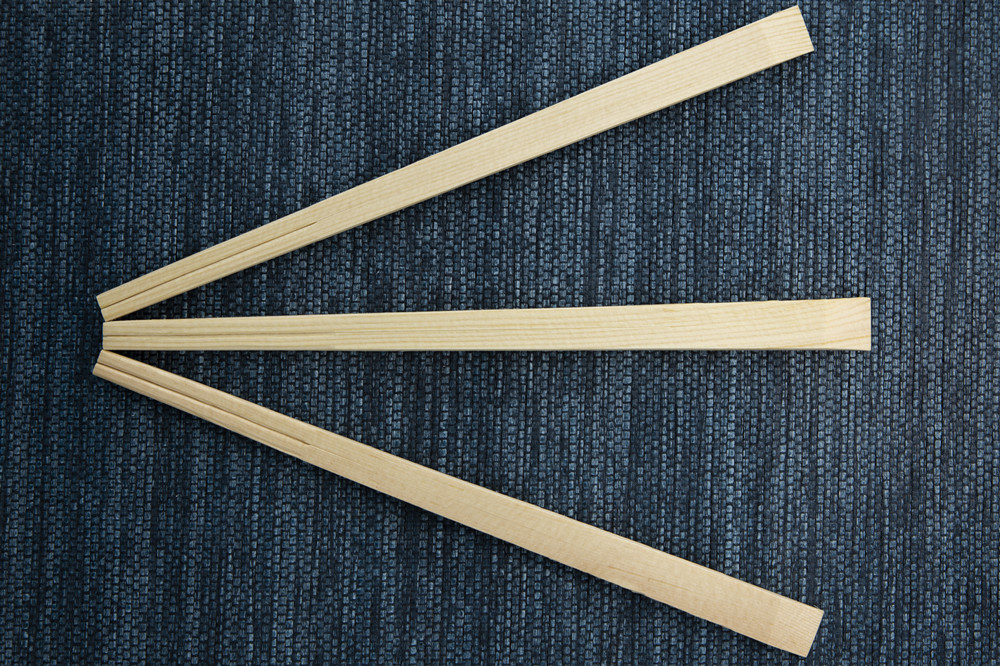
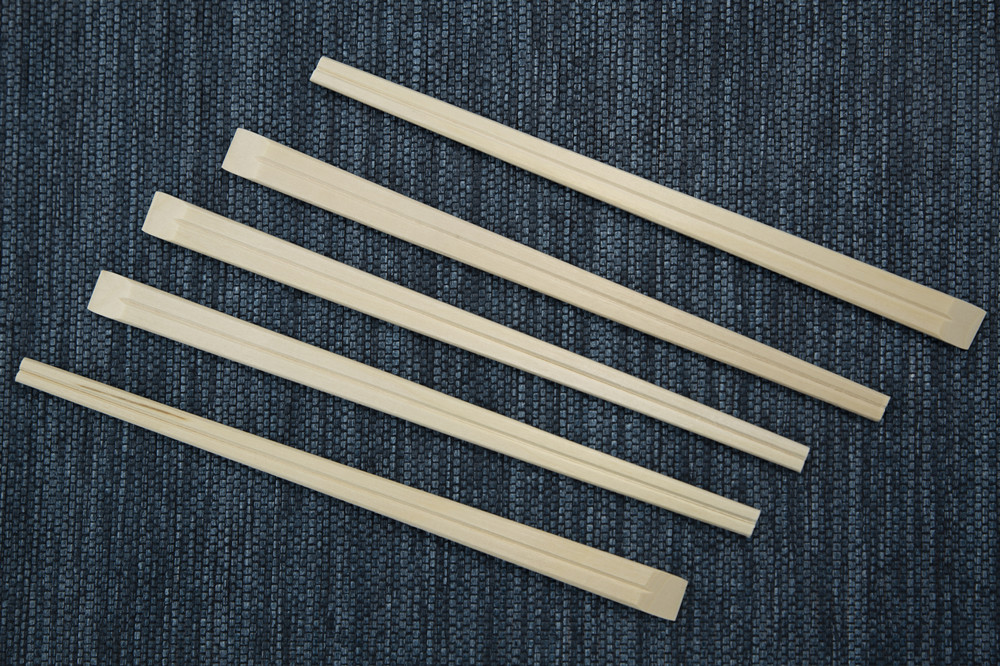
Disposable Chopsticks
Disposable Biodegradable Chopstick


Product Description
|
Commodity Name
|
Aspen chopsticks/Wooden chopsticks
|
|
Size
|
165*4.2/203*4.2/203*4.5/203*4.8/180*4.2/193*4.2
|
|
Individual Packing
|
1. Nuked
|
|
2. Paper wrapped
|
|
3. OPP wrapped
|
FAQ:
Q1: Are you manufacturer or trading company?
A1: We are manufacturer.
Q2: What is the material of products?
A2: Natural Birch.
Q3: How long will you deliver the products?
A3: 30~60 days after receiving 30% T/T deposit.
Q4: What is the payment term?
A4: T/T 30% as deposit in advance and balance 70% should be paid when goods ready to ship or L/C at sight.
Q5: Do you provide samples?
A5:Yes, free samples available.


